
My blog has been rather quiet this month.....not that I've been short of inspiration, just short of time to post all that I've been upto. First up, I was very happy when approached by Lulupu to create a layout and tutorial as a guest designer for their current challenge #29 - Vacation/Holidays/Travel Theme.
It's my first ever tutorial and I'm nervous as to how its going to be received. As always, I've created a mixed media layouts using texture paste, gesso, paints, spray the works :) and had lots of fun getting my hands dirty.
 When I started making 12X12 layouts last year, I found it very overwhelming, now it’s one of my favourite. In today’s step by step, I'll
share with you my process for creating a very simple grid sketch, mixed media
layout using 5 photographs from one of my trips to
Europe.
When I started making 12X12 layouts last year, I found it very overwhelming, now it’s one of my favourite. In today’s step by step, I'll
share with you my process for creating a very simple grid sketch, mixed media
layout using 5 photographs from one of my trips to
Europe.
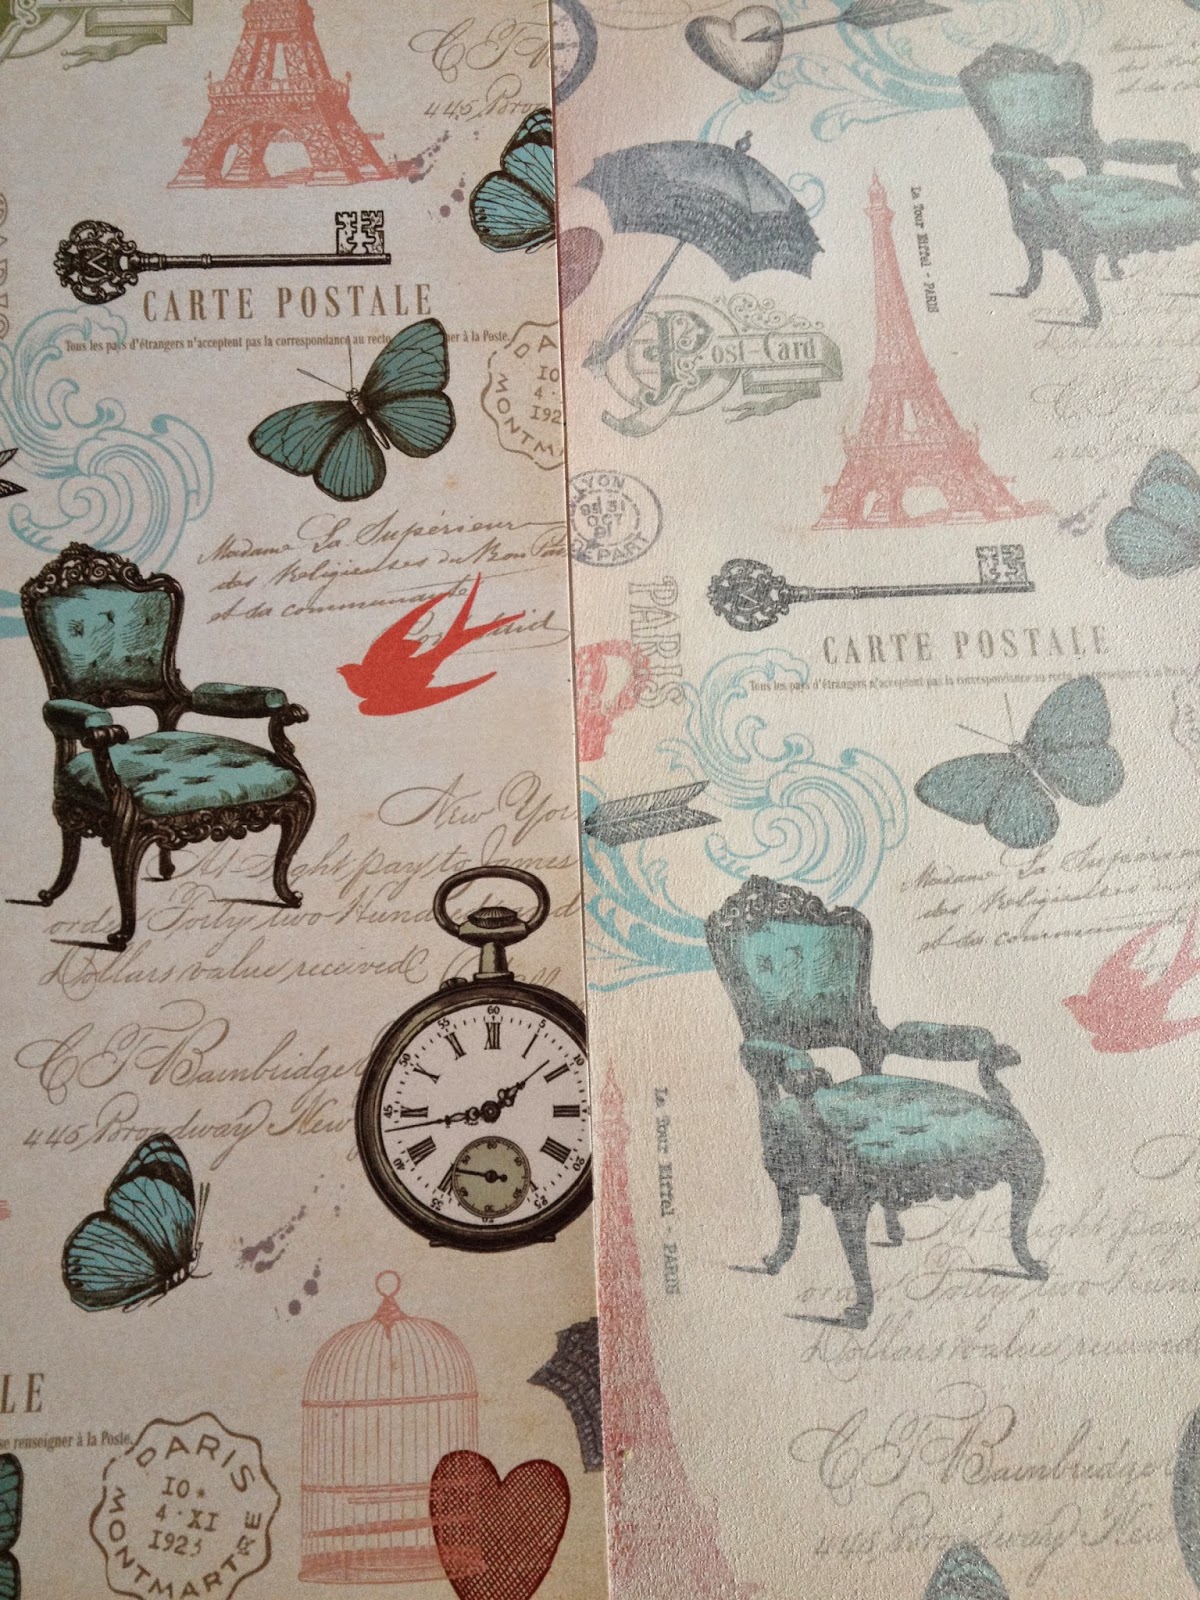
Step 1: Choose a background paper. Mine had vintage/Paris graphics on it which were quite prominent. Apply a thin layer of gesso using a roller/foam brush to get a fairly even application. Using a wet wipe (baby wipe) remove excess gesso from areas you want to highlight (On mine I removed gesso from the butterflies). Can you see the difference gesso creates?
Step
2: While the gesso is drying, on another plain paper, layer the
photographs and PP. I find grid layouts very easy specially for multiple
photos. I changed some of the elements later, but this step always helps me as I change my mind a zillion times!
 Step 3: Now comes the fun part. The gesso has
dried, its time to bring the paints /sprays out. Using a pencil, draw a square
to outline the grid inside which the photos are going to be
placed. Use washi tape on the
inside border of the square. Spray blue paint around the border (I used acrylic
paint and a toothbrush as I don’t have the specific blue colour in a ready spray
form). Add a border stamp using black archival ink, once the paint is dry. Any
stamp with geometric pattern will do. Its to add interest and define the border
a little more. Then go over the borders with texture paste mixed with Fevicryl
cherry red pearl paint through a small dots stencil. Now, my background looks
like this. The remaining texture paste was randomly applied around the border
and inside the grid as I didn't want to waste it.
Step 3: Now comes the fun part. The gesso has
dried, its time to bring the paints /sprays out. Using a pencil, draw a square
to outline the grid inside which the photos are going to be
placed. Use washi tape on the
inside border of the square. Spray blue paint around the border (I used acrylic
paint and a toothbrush as I don’t have the specific blue colour in a ready spray
form). Add a border stamp using black archival ink, once the paint is dry. Any
stamp with geometric pattern will do. Its to add interest and define the border
a little more. Then go over the borders with texture paste mixed with Fevicryl
cherry red pearl paint through a small dots stencil. Now, my background looks
like this. The remaining texture paste was randomly applied around the border
and inside the grid as I didn't want to waste it.
Here is a close
up…… can you see the 6 layers? PP, gesso, washi, spray, stamp and finally
texture paste. See, mixed media isn't so difficult , you can do it
too.
Step 4: After everything is dry, the final step is
to stick down all the different elements that were prepared in step 2. I changed
some of the elements, used pop dots below the photographs and completed the
journaling. Ta –da……… all done

Easy isn’t it. I hope you feel
inspired to make a layout and share it with all of us at Lulupu
Current Challenge#29 -
Vacation/Travel/Holidays Theme where only layouts are allowed.Take out your best
picture form a Vacation /Holiday.. Or maybe some place you want to escape to
this summer. Just scrap about it and show us!
Hey there! You're mentioned over on my blog today...it's a bit of a fun post....take a peek & see:):)
ReplyDeletehttp://lizzyhill12.blogspot.com.au/2014/04/a-liebster-award-passing-it-on.html
Hi Kripa, I've come via Lizzy's blog. And I've just read through your tutorial. Thank you, that was just right for me. I'm not very good at mixed media. I don't like to get messy really. But the results are great so I'm slowly getting my materials together. I can't get gesso here but I've got some white texturing paste. And I've also bought some stencils and spray ink. Now the fun can start. Your blog is very encouraging and I shall try to follow your example. Thanks.
ReplyDeleteHi Kripa,
ReplyDeleteThank you so much for your sweet visit and encouraging comment :) I have made a layout and shared it with the lulupu challenge :)