This card came about so easily and so quickly..... it just made itself in a matter of a few minutes! I was in the middle of making another card but had to stop to make this one first.... Does that happen to you too sometimes... or is it just me....
Of all the cards I've made,this one is definitely a hot favourite
Wednesday, 30 April 2014
Tuesday, 29 April 2014
CAS Card - Gold and Black
When I first read the challenge at Beyond Grey Challenges, I nearly jumped - Black and Gold...... so trendy...right! A gazillion ideas went through my head as always - vellum, wood veneer, confetti (shaker card), sequins, chevrons, stripes, white on white texture background, a glitter bow..... and the list is endless really.
So, I cut out several pieces of water colour paper and went to town with gesso, texture paste and twinkling H2Os. Here are two of the completed cards.
Both cards have been made in exactly the same way, except the base of the blue card is black and the pink one has a white card base. The Polaroid frame has been made using a chevron black washi tape on white cardstock. Also, linking both cards to Simon Says Stamp - Keep it Simple Wednesday Challenge.
Ive one more post today - another card..... here is a sneak peek. See you all soon. Cheers.
So, I cut out several pieces of water colour paper and went to town with gesso, texture paste and twinkling H2Os. Here are two of the completed cards.
Both cards have been made in exactly the same way, except the base of the blue card is black and the pink one has a white card base. The Polaroid frame has been made using a chevron black washi tape on white cardstock. Also, linking both cards to Simon Says Stamp - Keep it Simple Wednesday Challenge.
Ive one more post today - another card..... here is a sneak peek. See you all soon. Cheers.
Friday, 25 April 2014
Guest Designer post - Lulupu
My blog has been rather quiet this month.....not that I've been short of inspiration, just short of time to post all that I've been upto. First up, I was very happy when approached by Lulupu to create a layout and tutorial as a guest designer for their current challenge #29 - Vacation/Holidays/Travel Theme.
It's my first ever tutorial and I'm nervous as to how its going to be received. As always, I've created a mixed media layouts using texture paste, gesso, paints, spray the works :) and had lots of fun getting my hands dirty.
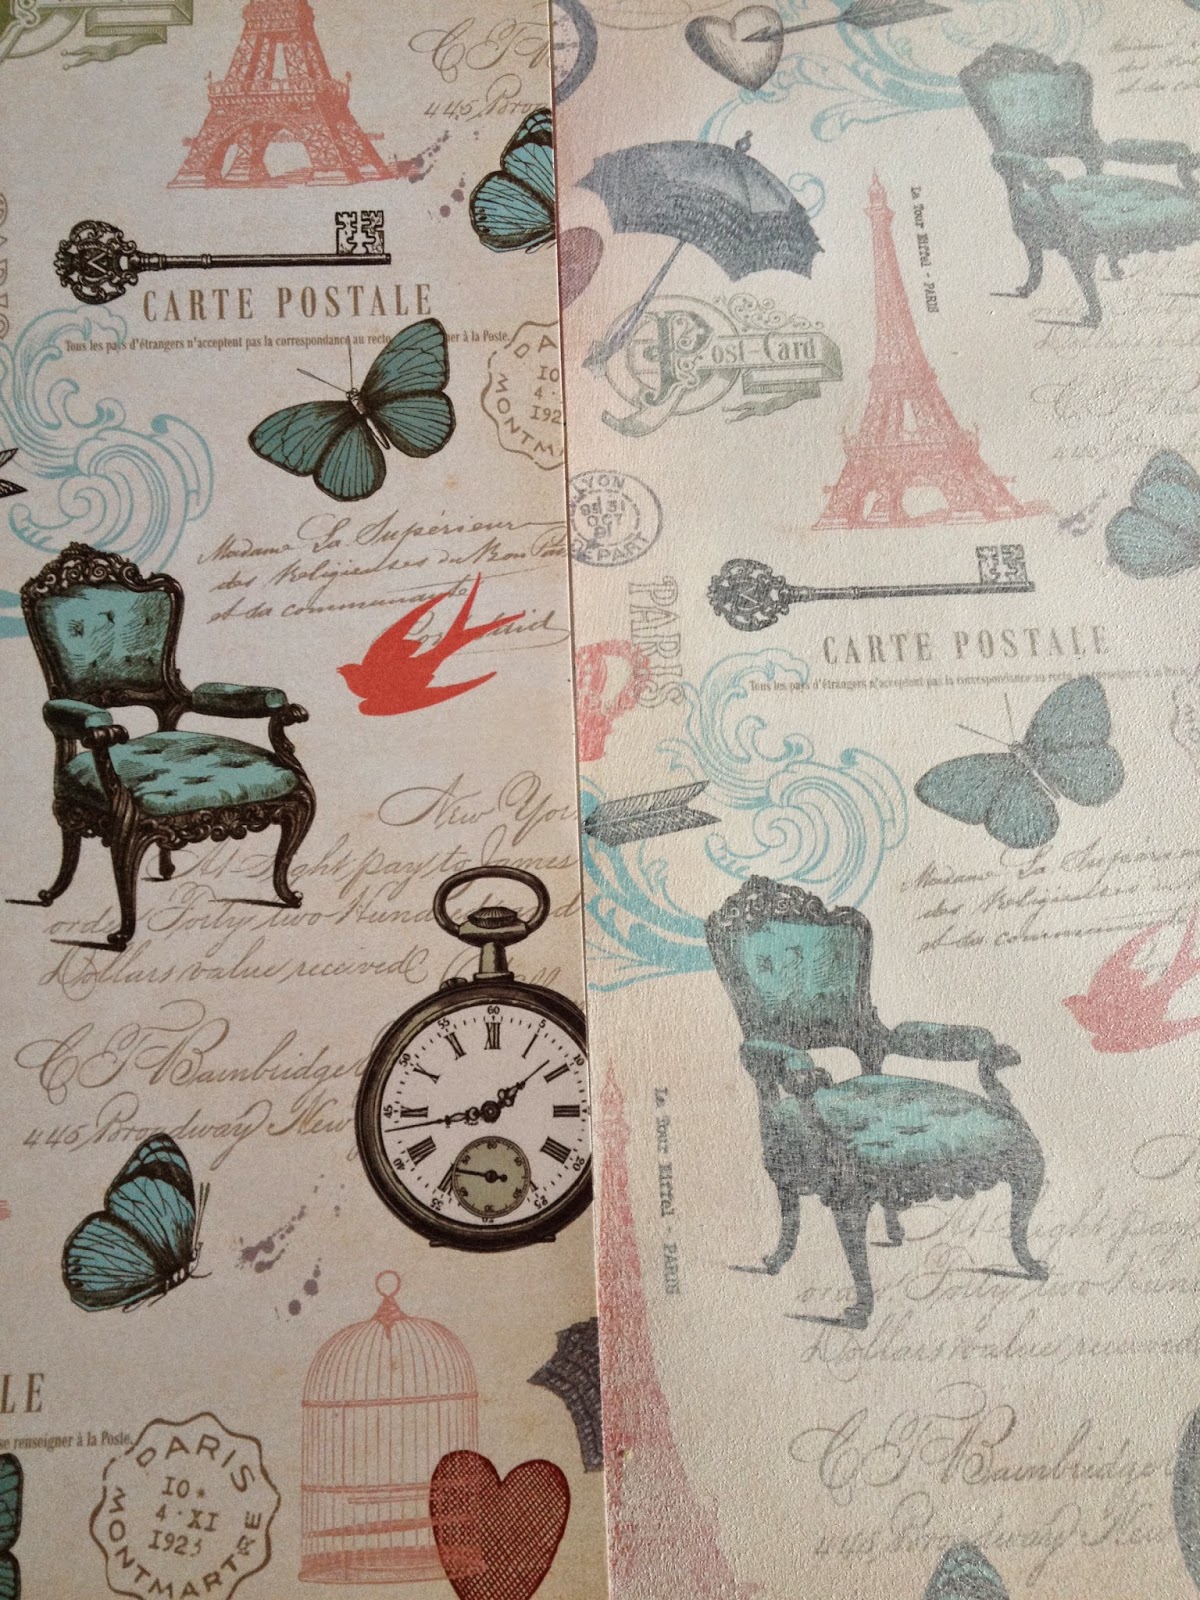
Step 1: Choose a background paper. Mine had vintage/Paris graphics on it which were quite prominent. Apply a thin layer of gesso using a roller/foam brush to get a fairly even application. Using a wet wipe (baby wipe) remove excess gesso from areas you want to highlight (On mine I removed gesso from the butterflies). Can you see the difference gesso creates?
Step
2: While the gesso is drying, on another plain paper, layer the
photographs and PP. I find grid layouts very easy specially for multiple
photos. I changed some of the elements later, but this step always helps me as I change my mind a zillion times!
Here is a close
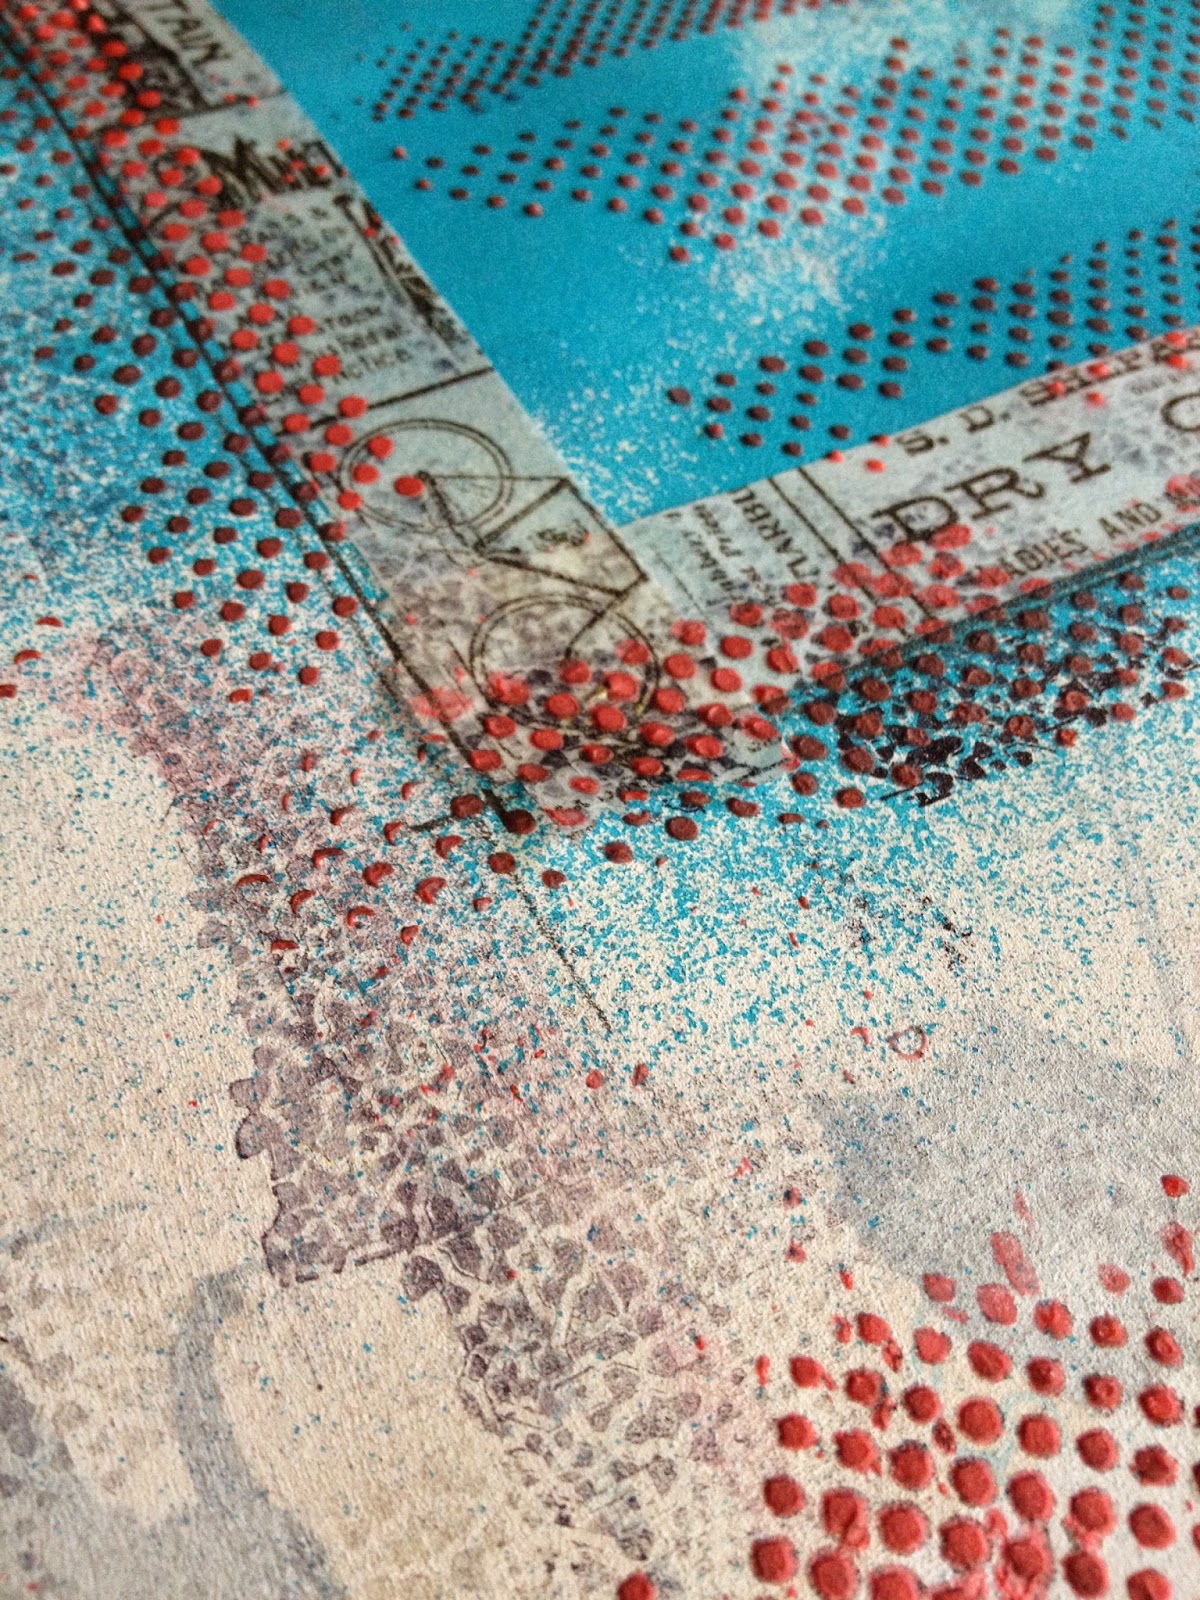
up…… can you see the 6 layers? PP, gesso, washi, spray, stamp and finally
texture paste. See, mixed media isn't so difficult , you can do it
too.
Step 4: After everything is dry, the final step is
to stick down all the different elements that were prepared in step 2. I changed
some of the elements, used pop dots below the photographs and completed the
journaling. Ta –da……… all done
Easy isn’t it. I hope you feel
inspired to make a layout and share it with all of us at Lulupu
Current Challenge#29 -
Vacation/Travel/Holidays Theme where only layouts are allowed.Take out your best
picture form a Vacation /Holiday.. Or maybe some place you want to escape to
this summer. Just scrap about it and show us!
Sunday, 13 April 2014
Another CSI case solved :)
This time again with less than an hour to go, I uploaded my page into the CSI gallery. Case #117, another very interesting set of prompts from the CSI team and what lovely colours too. Everytime I see a CSI case, my mind starts building a page but I almost never complete my layout in reality, on time to enter it.
Its the time I take, dilly dallying to decide on how to layer and what embellis to use, that takes forever. So, this time I decided to 'let go' and started sticking all the papers right away, so I didnt have the option to change my mind.
My background has been made with layers of stamps, paint and texture paste. Ive used both masks and stencils playing alongwith the criteria at offtherailsscrapbooking. For evidence, Ive used circles, rub-ons, arrows and numbers and Testimony my topic is something mind boggling.
As always the layout is about my lil bundle of mischief my son who can go blah, blah, blah nonstop from the minute he wakes up and even through his sleep! Isnt it truly amazing how kids pick up language. My bubba has picked up words from 4 languages and knows exactly who understands which language, so uses them appropriately and along the way he has made up words too which we all understand so have started using in our everyday talk. Years from now, hopefully this layout brings back a smile.
Also entering this into Anything but cards - Color Conceptions
Monday, 31 March 2014
DT CALL - Scrapping4fun challenges: May - August 2014
Hello everyone,
Scrapping4funChallenges are looking for dedicated crafters who have a passion for creating all kinds of projects......from layouts, cards, mini albums or "off the page
" creations. The New Design Team Ladies will run for a 4 month term. This term will be from the 1st of May 2014 to 31st of August 2014.
Click here to go have a look at their blog and details on how to apply.
Look alikes.....
Well..... afterall they are brothers. My second try at adding glitter to a project uses the color palette from kreative koncepts previously (Scrapfriends) colour challenge #23. These are some of my favourite colours and are also the same colours in the Crate paper Love Notes collection which I just am not able to put down after my last layout.
The subject of the layout is my kids.... no surprise :) I found these two snaps of my lil ones where they look so much like each other. Unfortunately, I don't have the dates the photos were taken but they looks like they were a couple months new. So, this is my second entry to Itsy Bitsy Precious baby challenge.
Again, like the glitter card, Ive thinned down glue with water and used a brush to make splatters before adding glitter. Adding this to the Glam with Glitter challenge at Color Conceptions
Wednesday, 26 March 2014
Glam with Glitter
I've been discovering and following lots of blogs this month. One I them colour conceptions which currently has a Glam with glitter challenge on. The design team have come up with so many creative ways of using glitter on projects so I was tempted to try my hand at it too. Glitter is definitely not my thing, atleast that's what I thought... I finally brought out these beautiful test tubes of glitter that my mom picked up from itsy bitsy and sat down to experiment and ended up making 3 projects! Today, I'm sharing the first one - a card.
The design for my card was inspired from the picture over at ARTastic challenges by the artist Lyn Butchart - Bluebirds. You must check this blog if you already haven't done so. Each month, the team there introduce the readers to an amazing artist and their work. The art piece then becomes a source of inspiration for creations that month. Alongwith that, there is also a series of inspiration, tips and tutorials from the creative team and guest designers. For my card, Ive used 2 feathers from the two birds and texture paste for the additional criteria.
I first hand drew and cut out a feather each from music and script paper and shaded using distress inks.Then painted them with multi-medium mixed with glitter. This ensured that glitter didn't overtake the music and script backgrounds, yet added a shimmer to the feathers.
Next I thinned down some glue with water and using a paintbrush created some splatters on the background and sprinkled glitter on them. Although glitter is opaque and feels like it just sits there, the splatter lends some movement to it, which I really was happy with. Finally a wooden button, some jute string and a tag to complete the card. My first CAS card for sure (ha ha ha) but grinning because I learnt a valuable lesson - Dont waste time LOOKING for your style, the truth is you already have it. You just need to create more in order to see it. (Not my quote, found it in an old diary of mine)
Subscribe to:
Posts (Atom)